How do I convert Adobe Illustrator vector graphics to pngs? -Carolyn
October 11, 2015
Hi Carolyn,
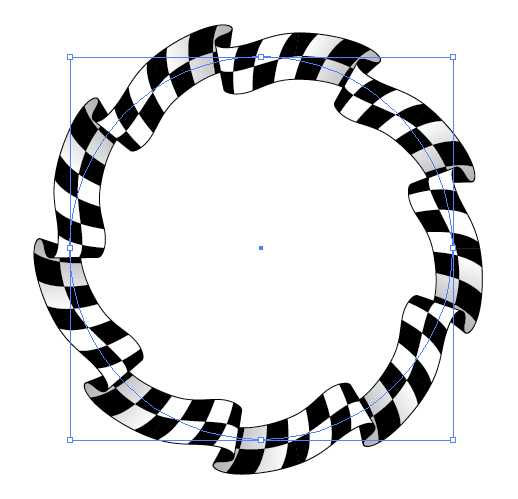
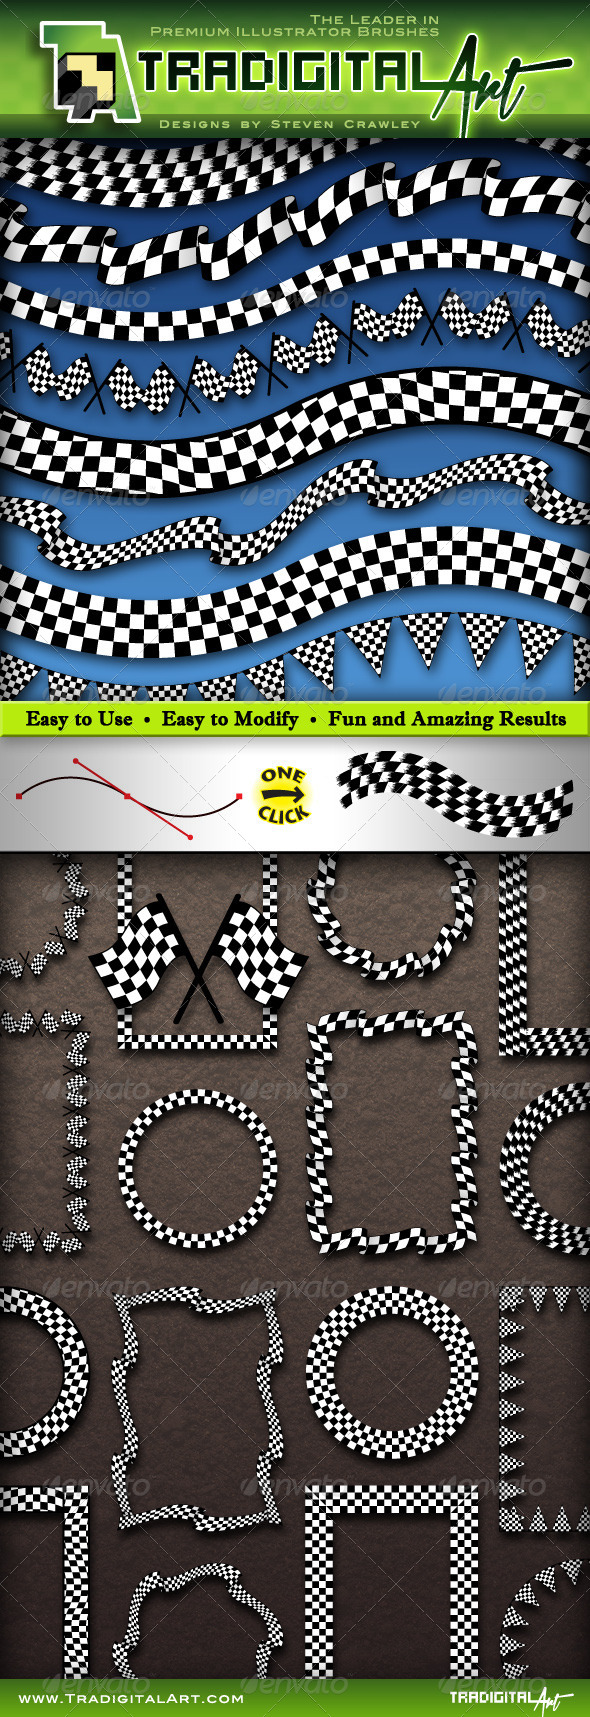
Let’s use this graphic created with my Checkered Flag Brush Set (Click here to get- more on it below article). Now the important thing for you to know is what the destination media is. If you are going to use it in a print application then you need hi resolution art. If you want to use it on the web or digital the resolution will be less. There are two ways that I usually do this:
Way Number One, It’s done entirely in Adobe Illustrator.
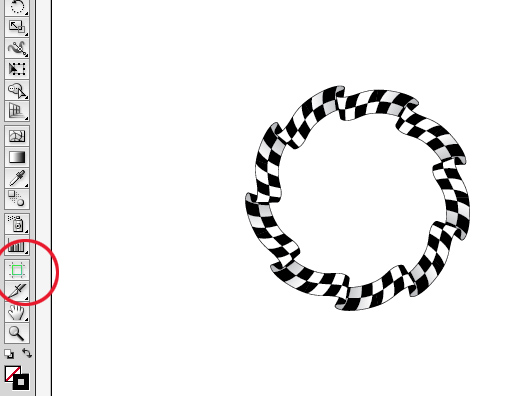
Scale your graphic to the correct end size. You may need to change your ‘scale strokes and effects’ setting in the preferences if you are having the problem of the brush or style not scaling with the object. Once your object is scaled make sure that your art board is just a little bit bigger. You can scale the art board with the art board tool (shift +O).
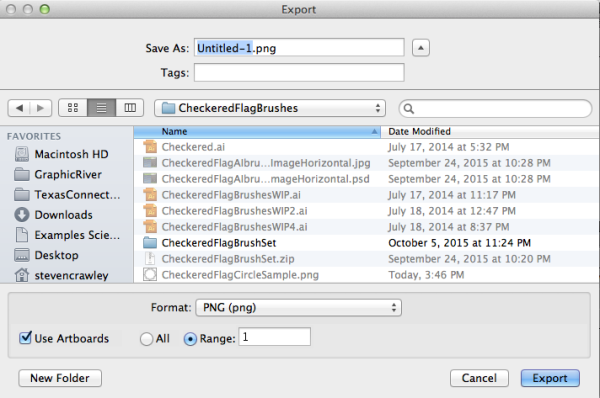
Next go to the pulldown File/Export. In this panel you can choose the file location file type and most important the Art board settings. You can do more than one art board export at a time. If you have multiple art boards with multiple pieces of art each one will be saved if you select art board all or you can choose a particular art board. In this file I only have one to deal with so I can select art board all or range 1 and it will do the same thing.
Hit Export and you will be prompted with a Png option panel. Here you can set all the appropriate features.
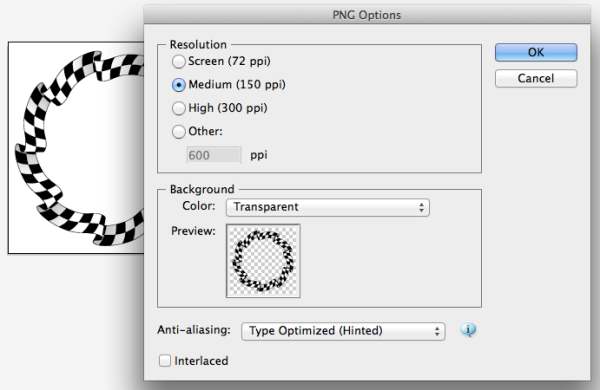
You can select (high, medium, screen or other) for your resolution, the background color. The antialiasing type and interlace setting.
Hit OK and Bing- Bam-Boom. You are Done!
Way Number TWO is a little longer and mostly done in Photoshop.
Copy the object from Illustrator and paste it as a smart object into photoshop. This is how I typically get the brushes into photoshop when I’m designing in PS. It also works for creating pngs. You can copy the object in Adobe Illustrator to the clipboard. Command ‘C’ on a mac. Then go to photoshop and create a new document. When you tell it to start a new document it will come up with a panel showing the width, height and Resolution as well as the color mode and background contents. Let’s go through those settings for mine I’m going to assume you want a high quality PNG. Since you just copied the art in adobe illustrator it will automatically scale the new file to the object size. The width and height display in pixel dimensions. Setting the pixel size might be just what you need. I usually like to change this to Inches with the pulldown arrow beside the word pixels.
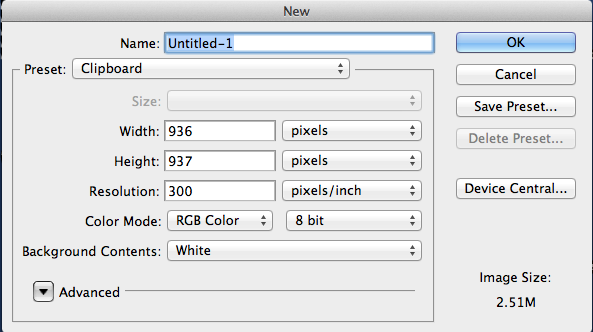
Once it is in inches I can get a good idea of the final size relative to the resolution. I’m going to change this one from 3 inches to 8 x 8 inches. You choose your size based on the final size you will need it. (Even if it is the correct size already, make the size just a little bit bigger on the width and height. Even ‘.1in’ More on wy later) When in doubt make it better than you need. It’s usually better to shrink a great graphic than to blow up a tiny one.
Resolution: For most applications 300 pixels per inch is more than enough detail (some glossy print applications might require higher). Next we have color mode. If you want to save PNGs you have to be in RGB color mode. If you try to create a PNG file in a CMYK formatted document you are going to get frustrated. Lastly, since we are creating a PNG, I’m also going to assume you want a transparent background. If so you can go ahead and set that here in the background contents. I don’t mess with the advanced pull down.
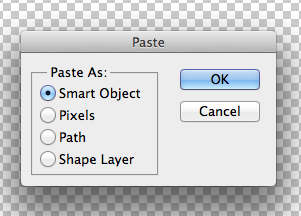
Hit OK to create the new blank document. Depending on how big and how high the resolution that might take a sec. Now you are ready to paste the graphic into Photoshop (sometimes with ultra complex graphics this method will poop out, but it usually works). I usually like to do this as a Smart Object. That keeps all the information live from Adobe illustrator until you are ready to save the file. Then if you decide to tweak the graphic, you can still double click the graphic style icon in the layer panel in photoshop. Hit OK.
The next thing that is a more advanced tip is to be mindful of your anti-alias setting. There is a little checkbox at the top toolbar. there are times when you want antialiased graphics and times when you don’t. Antialiasing is a smoothing technique that creates a cleaner look to the edges of your graphics. There are times however such as preparing screen printed graphics or direct to garment graphics when you want a clean edge. I use both types regularly. It’s good to know which type your graphic is.
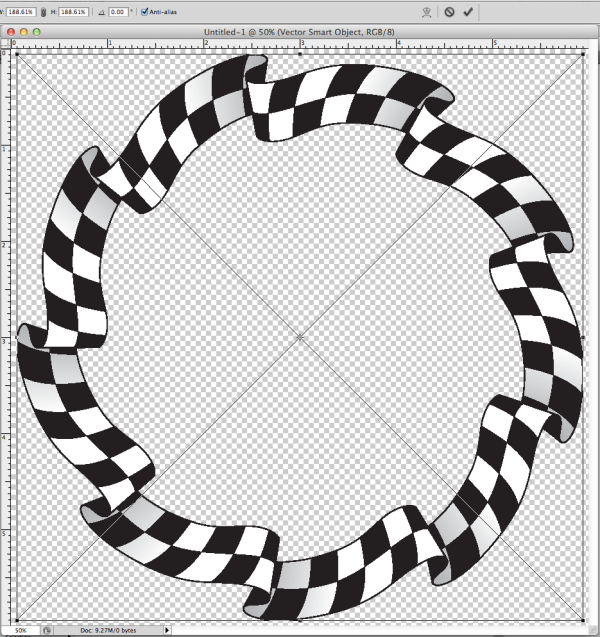
Now you can scale your graphic. As mentioned before you don’t want it to actually touch the sides. The reason is if your graphic touches the sides and gets antialiased it could look cropped on the sides. You also might want to allow room for a drop shadow or other effect if you like. You wouldn’t want your drop shadow to get cropped off by the document bounds. With a smart object you can also go back and change the antialias mode later by transforming the object. Be sure to scale it proportionally. you can hold down the shift key to lock proportions. There is also a lock in the top toolbar for adjusting size by the numbers.
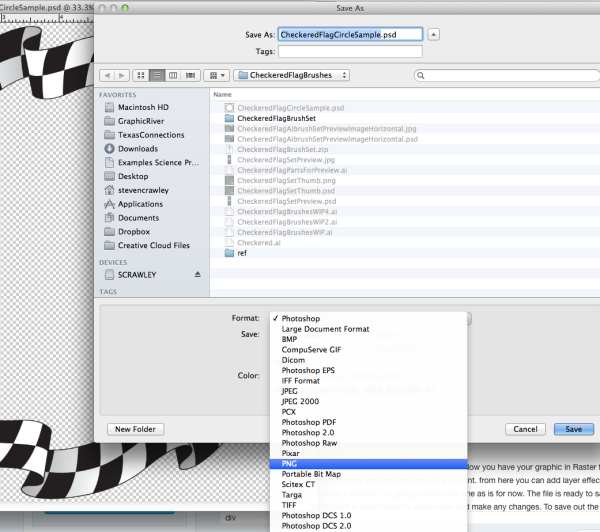
Almost there! hit enter or the Check at the top to confirm the size. Now you have your graphic in Raster form with your chosen Anti alias mode in the right colorspace with the background you want. From here you can add layer effects such as a drop shadow, stroke, bevel and more if desired. I’m going to leave this one as is for now. The file is ready to save. I usually like to save a psd version file at this point in case I want to come back and make any changes. To save out the PNG just go to file Save As.
Remember if you are not in the right color mode PNG option will not be active. Select PNG & save!
One more panel will pop up asking about interlace settings. I choose non interlaced. And you are done… Whew I’m tired. It’s really quick and simple once you get used to it.
A third way that some people do this is by saving a vector file like an eps and then opening that in Adobe Photoshop. and saving it out as a PNG from there.
As you can see there are several ways to ‘skin the digital cat’!
As promised here is a peek at the brush set featured in this tutorial
No comments yet